Letterforms
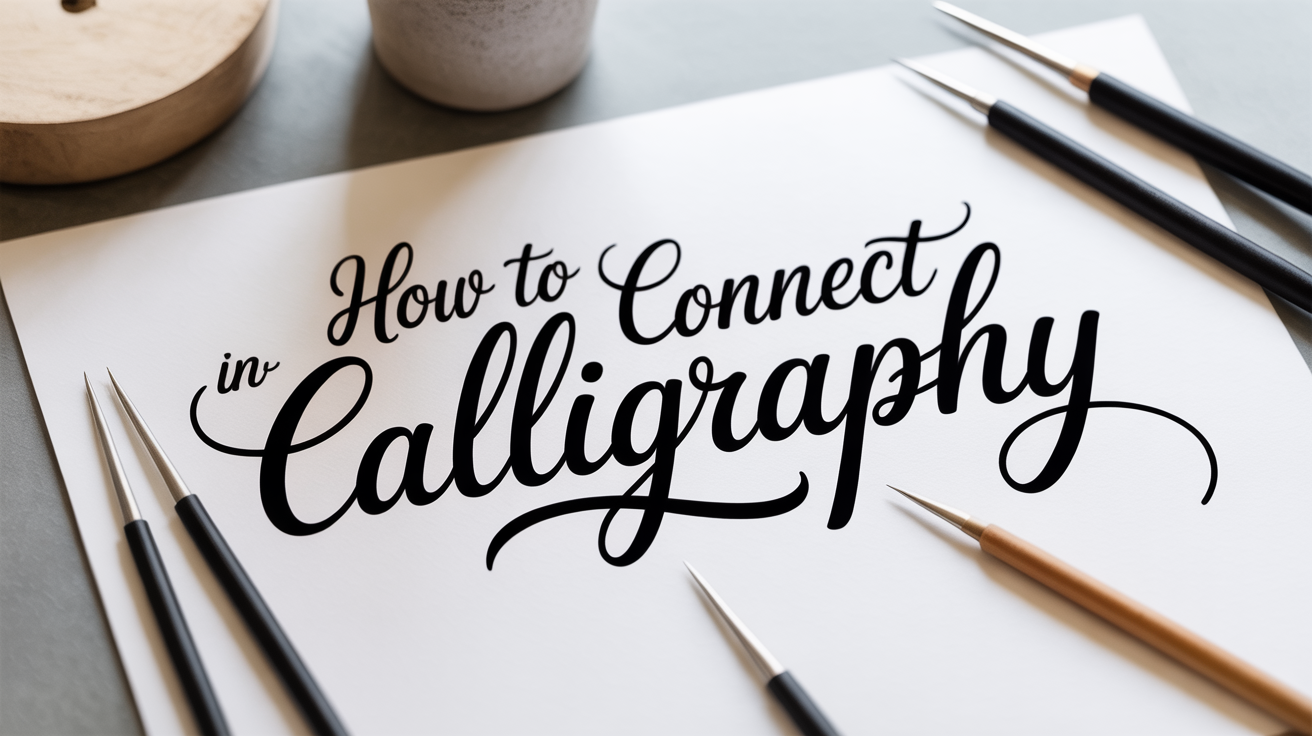
How to Connect Letters in Calligraphy
Learn how to connect letters in calligraphy with confidence. Covers exit strokes, join angles, common problem spots, and drills for beginners.
Connecting letters in calligraphy trips up almost every beginner at the same point: you can write individual letters reasonably well, but the moment you try to join them into a word, something goes wrong. The spacing collapses, the joins look lumpy, or you keep lifting the pen when you shouldn't.
The good news is that connecting letters is a skill you can isolate and practice separately from letterforms themselves. Once you understand what a connecting stroke (also called a join or a ligature) actually does, the whole thing becomes much more predictable.
This guide focuses on pointed-pen calligraphy styles like Copperplate and modern brush lettering, where letters flow into each other. Block lettering and uncial styles use different logic, but the core principles here will help you there too.
What a Connecting Stroke Actually Is
Before jumping to technique, it helps to be clear about the anatomy of a join.
Every letter in a connected calligraphy style has two potential linking points:
- Exit stroke: the thin upward curve at the end of a letter, where your pen leaves the letter and travels toward the next one.
- Entrance stroke: the thin upward curve at the start of a letter, where your pen arrives before dropping into the first downstroke.
A join happens when the exit stroke of one letter flows directly into the entrance stroke of the next. If those two strokes align cleanly, the word looks fluid. If they don't, you get a bump, a gap, or a sudden angle change that breaks the visual rhythm.
Most connecting problems come down to one of two things: the exit stroke is too short or too steep, or the entrance stroke of the next letter starts at the wrong angle. Fix those two points and most joins sort themselves out.
The Mechanics of a Clean Join
Leaving the Right Exit Stroke
When you finish a letter, don't just stop when the form is complete. Guide the pen out along a thin upward curve, angling toward where the next letter will begin. That exit stroke should:
- Travel upward at roughly the same angle as your other thin upstrokes (typically 52–55 degrees from horizontal in Copperplate, more relaxed in brush lettering).
- Rise to about the same height as the x-height guideline (the top of your lowercase letters, not the ascender zone).
- Stay thin. You're going up, so you're using minimal pressure.
A common mistake is stopping the exit stroke too low, so it only rises to mid-x-height. The next letter then has to start from a lower point, which forces an awkward downward curve before it can begin its entrance stroke.
Starting the Next Letter Without Lifting
Once your exit stroke reaches the right height, flow directly into the entrance stroke of the next letter without lifting the pen. The two strokes share a single point where one ends and the other begins.
Here's the key: that shared point should sit at approximately x-height. If it's too low, the join dips and looks hesitant. If it's too high, the join overshoots and the next letter's proportions get distorted.
Try this slow-motion drill: write the letter "i," then pause your pen at the tip of the exit stroke before continuing into a second "i." Notice where your pen naturally wants to go next. That pause point is your join zone.
Common Problem Letters and How to Handle Them
Not all letters connect the same way. Some are easy; a few need special attention.
Letters That Connect from the Baseline
The lowercase letters "a," "d," "g," "q," and "u" (in many styles) exit from near the baseline rather than from mid-x-height. Their exit strokes curve up from the bottom, so you have more vertical distance to travel before joining the next letter's entrance stroke. Give yourself room and don't rush the upswing.
Letters with Round Exits: "o," "v," "w," "b"
Round letters tend to exit from the right side of their curve. The connection often feels unnatural at first because you're coming off a curved surface rather than a straight vertical stroke. The fix is to make sure your exit curves away from the letter smoothly rather than shooting off at a sharp angle.
For "o" specifically: end the letter where the curve naturally closes, then let the pen trace a small upward curl before moving to the next letter. That curl is easy to forget when you're focused on the round shape, but skipping it makes the next letter look like it's floating.
Letters That Don't Connect from the Top: "r," "s," "x," "z"
Some letters connect in ways that break the normal pattern. The letter "r," for instance, often connects from its shoulder rather than with a standard exit stroke. In many Copperplate styles, "r" ends with a small horizontal tick that flows into the next entrance stroke. Practice this one in isolation before putting it in words.
Refer to the lowercase calligraphy alphabet for beginners to see how each letter's exit point is typically drawn in common foundational styles.
Spacing and Rhythm During Joins
Clean joins aren't just about the mechanics of exit and entrance strokes. Spacing matters too.
The distance between letters in connected calligraphy should stay consistent. A good mental model: the space between the downstrokes of adjacent letters should roughly match the interior counter space of the letter "n." This is sometimes called maintaining the "rhythm" of a word.
When you're focused on joining letters, it's easy to either crowd them together (so the join feels cramped) or stretch them apart (so the join feels like a long, meaningless bridge). The exit stroke itself sets the spacing. If your exit stroke is the right length, the letters will land in the right relationship to each other automatically.
A useful drill:
- Draw evenly spaced vertical lines across your practice sheet, all at your intended downstroke spacing.
- Write a connecting stroke between each pair of lines, starting at the baseline on the left line and ending at x-height on the right.
- Then add letters to those connecting strokes rather than building the strokes around the letters.
This flips the usual learning order and helps you feel the rhythm before worrying about letter shapes. It pairs well with the basic strokes that build every letter, since mastering those individual strokes makes the joins much easier to control.
When to Lift the Pen
Not every letter connects to the next. Some traditionally break the join:
| Letter | Common convention |
|---|---|
| After "o" (in some styles) | Lift and restart |
| After "v," "w" | Can lift or connect depending on style |
| After a capital letter | Almost always lift before lowercase |
| After "x," "z" | Typically lift |
| After any letter before "b," "g," "j," "p," "q," "y" | Often lift to maintain proportion |
These aren't absolute rules. Different calligraphy traditions handle joins differently, and modern lettering artists make deliberate choices about which letters to connect. What matters early on is consistency: pick an approach for each join type and stick with it across a word.
Capital letters occupy their own logic. Most calligraphy capitals are not joined to the letters that follow them. You write the capital, lift the pen completely, then begin the lowercase. Learn more about these letterforms in the guide to calligraphy capital letters for beginners.
A Practice Sequence for Building Join Confidence
Work through these in order rather than jumping to full words immediately.
-
Exit stroke drills. Fill a line with just exit strokes: upward curves from baseline to x-height, evenly spaced. Focus on keeping them thin and consistently angled.
-
Entrance stroke drills. Fill a line with just entrance strokes: downward pressure curves that start at x-height. This builds the muscle memory for where to begin each letter after a join.
-
Two-letter pairs. Pick two easy letters and connect them: "ni," "li," "mi," "un," "in." These are called easy joins because both letters enter and exit from similar heights.
-
Three-letter groups. Add a third letter: "min," "nil," "uni." Notice whether the rhythm stays consistent across all three joins.
-
Full words. Choose short, common words: "and," "the," "with," "time," "line." Don't pick words with many problem letters until the easy joins feel automatic.
-
Problem letter isolation. Spend focused time on the tricky letters from the list above. Writing "or," "ov," "ox," "ro," "so" in pairs helps you isolate what's going wrong.
Shaky lines and uneven joins at this stage are completely normal. The goal is to build a consistent habit, and that takes repetition over days and weeks, not a single practice session.
Frequently Asked Questions
Why do my joins look bumpy or angled instead of smooth?
The most common cause is a mismatch between the exit stroke angle and the entrance stroke angle of the next letter. If one travels at 55 degrees and the other at 40 degrees, the meeting point looks like a kink. Practice the exit stroke drill on its own until your angle feels natural and automatic, then check that your entrance strokes match it.
Should I connect all letters in a word?
Not necessarily. Many calligraphy styles have traditional lift points, and some letters look better disconnected. Start by learning which letters typically connect in the style you're working on, then experiment with your own preferences once the basic joins feel solid.
My letters crowd together when I try to connect them. What's wrong?
Usually the exit stroke is too short. If the pen doesn't travel far enough before starting the next letter, the letters end up overlapping or the join compresses. Try consciously extending your exit stroke a little further on each letter and see whether the spacing opens up.
Does the paper make a difference?
Yes, quite a bit. Very toothy paper can catch a fine nib on exit strokes, interrupting the smooth upswing. A smoother, coated paper or a layout paper with low tooth makes connecting strokes much easier to control. If joins feel jerky, try a different paper surface before changing your technique.
How long does it take to connect letters comfortably?
Most beginners start to feel consistent joins forming after three to four weeks of regular practice (15–20 minutes most days). Some letter pairs click quickly; others take months. Be patient with the letters that feel awkward — the fact that they're hard usually means they're teaching you something specific about your angle or pressure.