Getting Started
How to Hold a Calligraphy Pen: Grip and Posture
Learn the correct calligraphy pen grip and posture from day one. Simple, practical guidance for beginners using dip pens or brush pens.
The way you hold a calligraphy pen affects almost everything: ink flow, stroke width, how quickly your hand tires, and whether your letters look consistent. The good news is that the correct grip is not complicated. It just feels unfamiliar at first, and that unfamiliarity is easy to mistake for doing something wrong.
This guide covers grip, hand position, and posture for both dip pens and brush pens. If you are brand new to the tools, check out calligraphy vs. hand lettering first so you know which type of pen you are actually working with.
Understanding the Dip Pen Before You Pick It Up
A dip pen has two parts: the holder (the barrel you grip) and the nib (the metal tip you insert into the holder). The nib itself has two thin metal tines, the two prongs that spread apart under pressure to create thick downstrokes and spring back together for thin upstrokes.
There are two holder styles:
- Straight holder: A plain cylinder. Good for most pointed nibs and all broad-edge nibs.
- Oblique holder: Has a flange (an angled metal bracket) sticking out to one side. It helps right-handed writers keep the nib at the correct angle for Copperplate or Spencerian script without contorting the wrist.
If you are just starting out, a straight holder is fine. You can always add an oblique holder later when you know which script style you want to pursue.
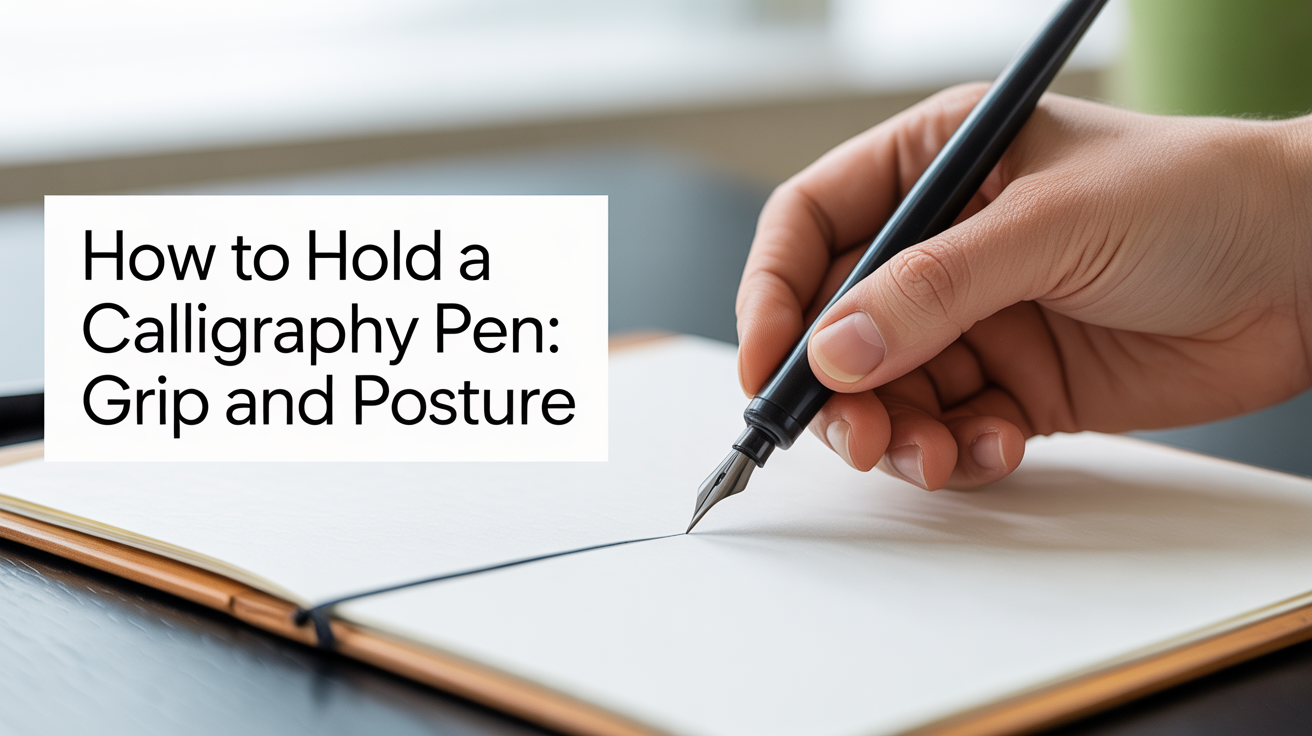
The Basic Dip Pen Grip
Hold the pen the way you would hold a standard pencil, but lighter. That bears repeating: lighter. One of the most common beginner mistakes is gripping too tightly, which tires the hand and causes the nib to catch on the paper rather than glide.
Step-by-step grip
- Rest the barrel of the holder between the tip of your index finger and the side of your middle finger.
- Place your thumb against the opposite side of the barrel, roughly across from your index finger.
- Let your ring finger and pinky curl naturally underneath, they will rest on the paper and act as a gliding anchor as your hand moves.
- Position your grip about 1.5 to 2 inches (4-5 cm) from the nib. Too close reduces control; too far away makes the pen feel wobbly.
- Keep the web of skin between your thumb and index finger relaxed. If it is tense, you are squeezing.
The barrel should be able to roll slightly in your fingers. If it cannot, you are holding on too firmly.
The pen angle
For pointed-nib calligraphy (the style that produces thick and thin contrast), you want the pen at roughly 45 degrees to the paper surface, not standing straight up, not lying flat. A pen held too upright digs the tines in; a pen held too flat skims the surface and produces inconsistent ink delivery.
For broad-edge nibs (used in Italic or Gothic scripts), the angle of the nib face to your baseline matters more than the tilt of the barrel. Your supplier or script guide will give you the specific nib angle (often 30 to 45 degrees) for the letterforms you are learning.
How to Hold a Brush Pen
Brush pens, felt-tip pens with a flexible brush-like tip, are held differently from dip pens, and they are generally more forgiving for beginners.
- Hold the brush pen at a low angle, closer to 30-40 degrees from the paper rather than 45-90.
- Use the same three-finger grip described above, but let the brush make contact with a bit more of its length on downstrokes. This is what creates the thick stroke.
- For thin upstrokes, lift slightly and use just the very tip of the brush.
- Keep your wrist relatively still. Movement comes from your whole forearm, not your fingers.
The key insight with brush pens: pressure controls width, not angle. Press down for thick; lift for thin. This takes practice to feel natural, but it clicks faster than most beginners expect.
Calligraphy Posture: Your Whole Body Matters
Grip and posture are connected. A tense shoulder leads to a tense forearm, which leads to a tense grip. Setting up your body well before you start saves a lot of frustration.
Chair and table height
Sit so your elbows are roughly level with the tabletop when your arms hang relaxed. If the table is too high, you compensate by raising your shoulders. If it is too low, you hunch forward.
Paper angle
Most calligraphers tilt their paper. For right-handed writers, the bottom-left corner of the paper typically points toward your body at roughly a 30-45 degree angle. For left-handed writers, the bottom-right corner does the same. This tilt lets the pen travel naturally in the direction your arm moves.
Experiment. The "correct" paper angle is the one where strokes feel smooth and consistent, not the one a book says to use.
Arm position
Your forearm, not your fingers, should do most of the work of moving the pen across the page. Rest the fleshy pad below your pinky on the paper and let it slide as a pivot point. This is called arm movement or muscle writing, and it is what keeps letterforms consistent across a whole line of text.
Writing only from the fingers works for short words but becomes erratic over a full page. You will notice your letters getting smaller or tilting as your fingers tire.
Common Grip Problems and How to Fix Them
| Problem | Likely cause | Fix |
|---|---|---|
| Nib catches and splatters ink | Grip too tight, pen angle too steep | Relax fingers, lower barrel angle |
| Ink skips or stops flowing | Pen angle too shallow, moving too fast | Raise angle slightly, slow down |
| Hand cramps after a few minutes | Gripping too hard or wrist bent sharply | Loosen grip, straighten wrist |
| Thick and thin strokes inconsistent | Moving from fingers rather than arm | Practice arm movement drills on scrap paper |
| Letters lean at different angles | Paper not tilted, inconsistent grip position | Angle paper, keep grip position constant |
What to Expect in the First Week
Shaky lines and uneven strokes are normal. They are not a sign that you lack talent. They are a sign that your hand has not yet built the muscle memory for this particular motion.
Spend your first few sessions not on letters at all. Practice simple strokes: straight downstrokes, upward hairlines, oval shapes, and gentle S-curves. These are the building blocks of most scripts, and drilling them while focusing on grip and posture builds the foundation faster than trying to write words right away.
A beginner's daily calligraphy practice routine can help you structure this early phase so the time you spend practicing actually translates into improvement. Even 10-15 minutes a day is more effective than occasional long sessions.
For a low-pressure way to try out letter shapes before committing to a dip pen, faux calligraphy with any regular pen lets you get familiar with the thick-thin look without worrying about ink flow or nib pressure at all.
Frequently Asked Questions
Is there one "correct" grip for calligraphy?
Not exactly. The three-finger grip described here is the most common starting point, and it works for the majority of people. But calligraphers over centuries have used variations, and some left-handed writers develop quite different holds. What matters is that the grip lets you control pressure, move the pen smoothly, and sustain writing without pain. If a slight adjustment to finger position feels better and produces cleaner strokes, trust that over a rigid rule.
Why does my hand hurt after just a few minutes?
Almost always, it is tension. A tight grip puts constant strain on the small muscles of the hand and forearm. Try consciously loosening your fingers until the pen almost feels like it could slip, then tighten just enough to keep it. That is probably the right amount of pressure. Also check that your wrist is not bent sharply, a straight or very slightly flexed wrist is much less tiring.
Do left-handed calligraphers hold the pen differently?
Often yes. Left-handed writers typically rotate their paper more aggressively (bottom-right corner pointing toward the body), and some use what is called an "overwriter" position, the hand arcs above the line of writing rather than hooking under it. An oblique holder designed for left-handed use can also help. There is no single solution, but many left-handed calligraphers thrive with a bit of experimentation.
How tight should my grip actually be?
Light enough that if someone tried to pull the pen out of your hand with a single finger, they could do it without much resistance. That probably feels uncomfortably loose at first. You will adapt, and the results in your strokes will be immediate, smoother lines, less ink splatter, and a hand that is still comfortable after 20 minutes instead of 5.
When should I switch from a straight holder to an oblique one?
When you decide to focus on Copperplate or Spencerian script, an oblique holder becomes genuinely useful because it places the nib at the right angle to the paper without requiring an awkward wrist rotation. If you are exploring Italic, Gothic, or brush lettering, a straight holder serves you well indefinitely. There is no pressure to switch, it is a tool choice, not a skill level.