Pointed Pen
How to Assemble a Dip Pen and Insert a Nib
Learn how to assemble a dip pen and insert a nib safely and correctly — a beginner's step-by-step guide to dip pen setup.
Picking up a dip pen for the first time is exciting and just a little intimidating. The nib looks fragile. The holder looks deceptively simple. And nobody tells you that there is a right way and a wrong way to seat a nib, until the nib goes flying across the table or scratches the paper before you write a single letter.
This guide walks you through the whole dip pen setup process from scratch: what each part does, how to insert a nib without bending it, how to check that everything is seated correctly, and what to do if it is not. By the end you will have a pen that is ready for ink.
Understanding the Parts
Before touching anything, it helps to know what you are working with.
The holder is the handle you grip. It is usually a straight wooden dowel or an oblique holder, which is a handle with a flange (a small angled arm) that holds the nib at a leftward offset. Beginners often start with a straight holder; the oblique becomes useful once you are practicing Copperplate or Spencerian script, where the slant of the letters benefits from that offset angle.
The nib is the small metal writing tip that you insert into the holder. A pointed nib has two thin metal strips called tines. The tines are joined at the tip and have a tiny hole called the vent hole (or breather hole) partway up the nib. When you press down on the paper, the tines flex apart, this is called flex, which releases more ink and creates the thick downstroke (the wide, heavy line you make on a down motion). On the way back up, with lighter pressure, the tines close and produce a thin, hairline upstroke.
The ferrule is the metal collar or ring inside the holder where the nib slides in. On a straight holder it is usually a simple round ring; on some oblique holders it is a flanged metal insert. The ferrule grips the nib's shank (the wide, flat end you insert) by friction.
A quick parts reference:
| Part | Where it is | What it does |
|---|---|---|
| Holder | The handle you grip | Houses the ferrule; transfers pressure |
| Ferrule | Metal ring inside the holder | Grips the nib's shank by friction |
| Nib | The metal writing tip | Flexes to vary line width |
| Tines | The two prongs of the nib | Separate on the downstroke |
| Vent hole | Hole in the middle of the nib | Regulates ink flow |
| Shank | Flat end of the nib | Inserts into the ferrule |
Preparing a New Nib
New nibs have a thin factory coating, usually a light oil or lacquer, to prevent rust in storage. That coating repels water-based inks, so your very first dip will bead up and refuse to flow. You need to remove it before writing.
There are several ways to do this, and none of them requires special supplies:
-
Flame method. Pass the nib through a lighter flame for about two seconds. You are not trying to heat it red-hot; a brief pass is enough to burn off the coating. Let it cool completely before touching it (about 30 seconds). This is the fastest method.
-
Toothpaste method. Apply a pea-sized amount of plain white toothpaste to the nib and rub gently with your fingers, then rinse under running water and dry. The mild abrasive removes the coating without scratching the metal.
-
Saliva method. Stick the nib in your mouth for a few seconds, then wipe dry. Enzymes in saliva cut through the oil film. It sounds strange, but calligraphers have been doing this for decades, the nib goes straight into ink after, so hygiene risk is minimal.
After any of these methods, dry the nib gently with a soft cloth or paper towel. Do not rub hard across the tines; wipe from the shank toward the tip to avoid catching the metal.
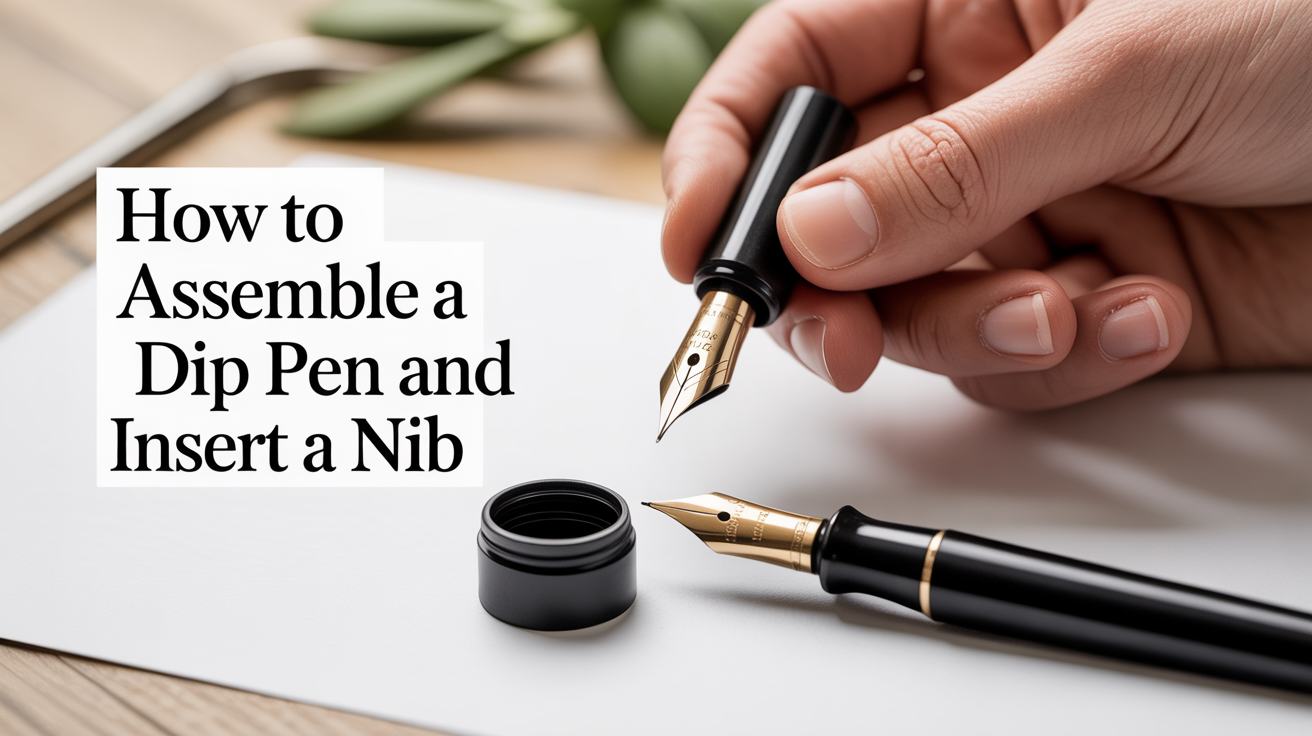
How to Insert a Nib into a Straight Holder
This is the step that trips up most beginners. The nib needs to be firmly seated but not forced.
-
Hold the holder in your non-dominant hand with the ferrule end pointing toward you. Look directly into the ferrule opening. You will see a ring, sometimes with a small gap, sometimes a full circle.
-
Pick up the nib by its shank (the wide, flat end). Avoid touching the tines; even light finger pressure can bend them slightly out of alignment.
-
Align the nib shank with the ferrule opening. The shank should slide in flat, with the curved dome of the nib facing upward (away from your paper surface when you write). The vent hole should face up.
-
Push the nib in firmly but smoothly. You want the shank to slide past the inner ring of the ferrule until the shoulder of the nib (where the shank meets the body) is snug against the holder. It takes more pressure than you expect, there should be an audible or tactile click as the shank seats.
-
Check the fit. Grip the nib's body lightly between two fingers and try to wiggle it side to side. A correctly seated nib has almost no play. If it wobbles loosely, push it in a bit further or try a different ferrule size (some holders have removable ferrule inserts in multiple sizes).
-
Check that the tines are aligned. Look at the nib tip straight on. The two tines should be at the same level, meeting neatly at the point. If one is higher than the other, the nib went in crooked. Remove it and reinsert.
How to Insert a Nib into an Oblique Holder
The oblique holder adds one layer of complexity: the flange. The flange holds the nib at an angle (typically 15 to 30 degrees offset to the left) so that when you hold the pen naturally, the nib points toward the guideline angle of Copperplate script.
Most oblique holders have a plastic or metal flange insert with a small cup or groove. The nib shank slides into that cup rather than directly into a ferrule.
-
Locate the cup on the flange. It is usually a small circular collar at the end of the angled arm.
-
Orient the nib with the dome facing up, just as with a straight holder.
-
Slide the shank into the cup until the shoulder sits against the flange. The nib should point slightly to the left when you hold the pen upright.
-
Wiggle test. Same as before, very little lateral movement means a good fit.
If the flange on your oblique holder is adjustable (many are), you can bend it slightly inward to tighten the grip or outward to loosen it. Do this gently and incrementally; over-bending breaks the flange.
Checking Your Setup Before You Dip
Before loading any ink, run through this short checklist:
- Nib dome faces up (toward the ceiling when you hold the pen at writing angle)
- Tines are level and meet at the tip
- No visible gap between the tines at rest (they should touch lightly)
- Nib does not wobble when you grip it lightly
- The vent hole is visible and unobstructed
- New nib has been de-coated and dried
If the tines have a visible gap at rest before any ink has been applied, the nib may have been bent during shipping. Try reseating it first. If the gap remains, that nib is unlikely to write cleanly, set it aside and try another.
Once your nib is seated correctly, you are ready to load ink. For that next step, see the guide on how to load ink onto a calligraphy nib, which covers how much ink to pick up and how to avoid flooding the paper.
Removing and Replacing Nibs
Nibs are consumable. A pointed nib for practice work may last anywhere from a few hours to several months, depending on the paper you use (rougher paper wears the tip faster) and how much pressure you apply. When the nib starts catching on the paper, producing scratchy lines, or splitting at the tip, it is time to swap it out.
To remove a nib safely:
- Wipe off as much ink as possible with a damp cloth first. Dried ink makes removal harder and messier.
- Grip the nib shank (not the tines) between your thumb and index finger.
- Pull straight out, aligned with the holder's axis. Do not twist or lever the nib sideways; this can damage the ferrule.
- Drop the used nib into a small jar of water to soak, then clean and dry it before storing or discarding.
Keep a small collection of different nibs even as a beginner. A broader nib (like a round-hand or italic nib) is more forgiving for early practice because it does not catch on paper as easily as the finest pointed nibs. Once you understand how much pressure to use in pointed pen calligraphy, you can move to finer, more flexible options.
Troubleshooting Common Assembly Problems
| Problem | Likely cause | Fix |
|---|---|---|
| Nib falls out when you lift the pen | Shank not past the ferrule ring | Push nib in further until you feel it seat |
| Ink beads on the nib and won't flow | Factory coating not removed | De-coat with flame or toothpaste method |
| Scratching on upstrokes | Tines misaligned or bent | Remove nib, check alignment, reinsert; replace if bent |
| Tines splayed apart at rest | Nib was dropped or overpressured | Replace the nib |
| Ink floods the paper immediately | Too much ink loaded, or nib too flexible for current paper | Load less ink; try a stiffer nib |
| Nib wobbles side to side | Ferrule is too large for this nib's shank | Try a different ferrule size or wrap the shank in a thin strip of tape |
Line quality issues that happen while writing are usually not assembly problems. If your lines are inconsistent or your downstrokes are weak, the issue is more likely pressure or ink consistency. The guide on thin upstrokes and thick downstrokes explained covers the mechanics in detail.
Frequently Asked Questions
Does the nib brand matter for assembly?
Most pointed nibs have a similar shank width and will fit a standard straight holder ferrule. Where you run into variation is with very fine nibs (some have narrower shanks) or with specialty nibs designed for specific holders. When in doubt, check that the nib shank seats snugly and does not wobble before committing to a long practice session.
Can I reuse nibs?
Yes, with some limits. Rinse and dry nibs after every session to prevent ink from drying and corroding the metal. A well-maintained nib can last many practice sessions. Avoid soaking nibs in water for extended periods, prolonged moisture causes rust. When the tip no longer produces clean lines, replace the nib rather than trying to reshape it.
My nib is scratching the paper on the upstroke. Is it the assembly or my technique?
Both can cause this. Check assembly first: are the tines level and aligned? Is the nib seated straight? If assembly looks correct, the cause is more likely technique. On the upstroke you should be using very light pressure so the tines stay closed. If you are pressing down on the upstroke the same way you do on the downstroke, the tines splay and the edges catch the paper.
Do I need a different holder for each nib?
No. A single straight holder with a standard ferrule will accept most pointed nibs. Where a separate holder becomes useful is when you move to oblique work (Copperplate, Spencerian) or when you want to keep a favorite nib inked and ready without constantly swapping.
How do I know when a nib is worn out?
Three signs: the tip starts to catch on the paper where it previously glided, the hairline upstrokes become ragged even with light pressure, or you can see visible wear or a flat spot on the tip when you examine it under a magnifying glass. Pointed nibs are inexpensive, so when in doubt, try a fresh one and see if the problem disappears.