Brush Lettering
How to Fix Frayed Brush Pen Tips
Learn why brush pen tips fray, how to revive a splayed tip at home, and what habits will keep your brush pens in good shape for longer.
You reach for your brush pen and the letters come out ragged, with thin strands of felt splaying in every direction instead of forming a clean stroke. That is a frayed brush pen tip, and it happens to every beginner. Some fraying is normal wear, the same way a paintbrush gradually loses its perfect point. The good news is that mild fraying is often fixable, and the habits that prevent it are simple once you know what causes the damage in the first place.
Why Brush Pen Tips Fray
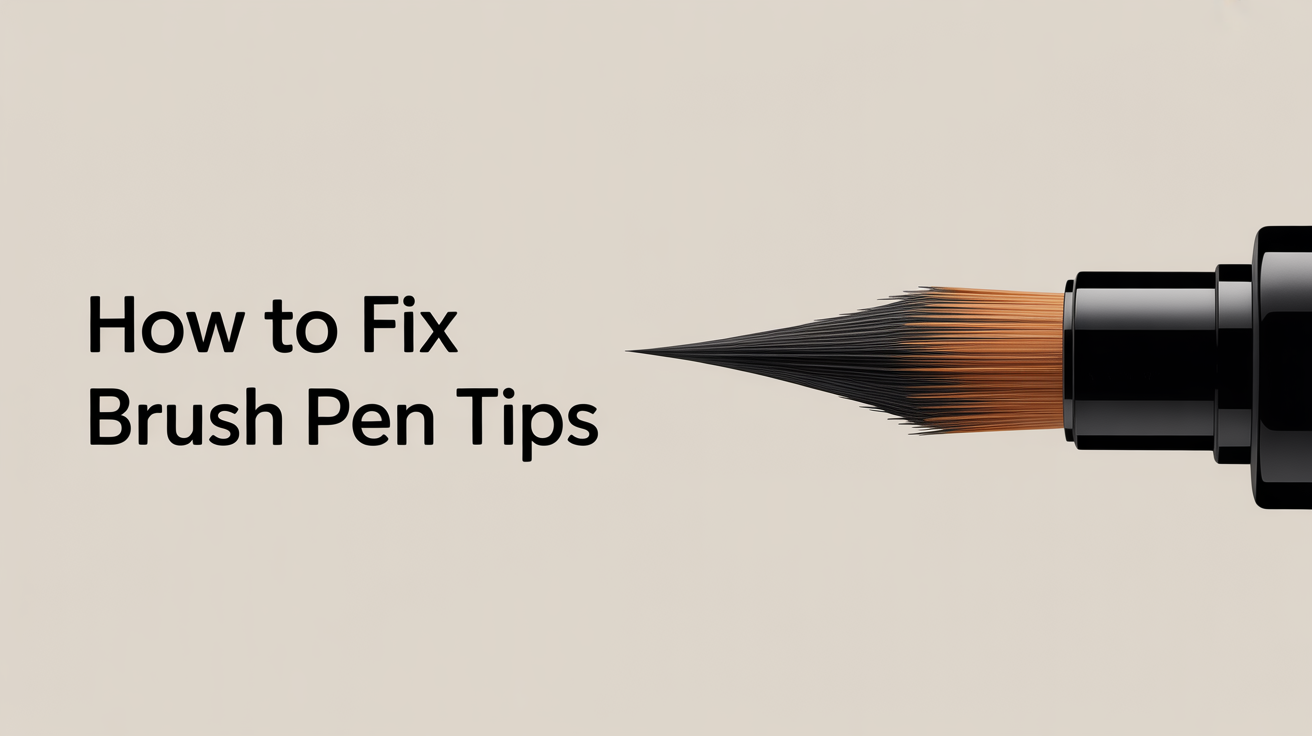
A brush pen tip is made from felt or synthetic fibers (sometimes called a felt tip or brush tip) compressed into a pointed or tapered shape. Ink flows through the fibers to the paper. The tip stays intact when the fibers are compressed and supported during use. Several things break that structure down:
Rough or textured paper. Copy paper, card stock with a tooth, and watercolor paper all have a surface that grabs and pulls individual fibers loose. Over many strokes those fibers separate and the tip splays.
Too much pressure on the upstroke. In brush lettering, thick downstrokes (moving toward you, pressing down) and thin upstrokes (moving away from you, barely touching the paper) are the core technique. If you press as hard on the upstroke as on the downstroke, the tip bends backward against the direction it was made to flex, bending and breaking fibers at the base.
Pressing straight down instead of at an angle. The tip is designed to flex when held at roughly 45 degrees. Pressing straight down mushes the tip flat and stresses the fibers sideways.
Letting the pen dry out. A dried-out tip becomes brittle. Fibers that might have survived normal use snap off instead of bending.
Using the tip beyond its ink supply. When ink runs low, some people press harder to coax out a stroke. That extra pressure is punishing for an already-stressed tip.
For a deeper look at how pressure and angle work together, see The Basic Strokes of Brush Lettering.
How to Revive a Mildly Frayed Tip
A tip with a few strands splaying outward can often be coaxed back into shape. This works best on synthetic fiber tips; natural-hair or foam tips respond differently, but the same steps are worth trying.
- Lay the pen aside for a day. If the pen is still wet with ink, the fibers are swollen. Letting them dry completely before attempting a fix gives you more control.
- Dampen a piece of smooth paper. Run a clean, slightly damp fingertip over a sheet of smooth or HP-coated paper (high-quality laser paper works well) to create a very lightly wet surface. You want barely damp, not soaked.
- Press the tip gently onto the damp surface and twist. Place the tip flat on the paper, apply very light pressure, and rotate the pen slowly between your fingers. The moisture softens the fibers and the smooth surface acts like a mold, nudging the strands back toward the center.
- Work the tip into a point by rolling. While rotating, gradually lift the pen so it shifts from flat to its normal writing angle. You are encouraging the fibers to remember their original taper.
- Let it dry in the capped position. Cap the pen and leave it tip-down for a few minutes so the fibers dry while held together.
- Test on smooth paper. Write a few slow downstrokes and upstrokes. If the lines are cleaner, the tip has partially recovered. If the fraying is severe, repeat once more before giving up.
A tip that is badly splayed or has broken fibers at the base cannot be fully restored. At that point the pen has reached the end of its useful life for fine lettering, though it can still work for thicker strokes or filler texture in mixed-media projects.
Preventing Brush Pen Fraying
Brush pen tip care is mostly about changing three habits.
Switch to smooth paper. This single change does more for tip life than anything else. Look for paper labeled HP (hot-press), laser, or Bristol smooth. The surface feels almost slick compared to copy paper. Your strokes will also look cleaner immediately, which is a bonus. For a sense of what paper qualities matter at the beginner stage, Brush Lettering for Beginners: A Complete Guide covers this in context.
Use light pressure on upstrokes. Practice consciously lifting pressure as your hand moves up and away from you. The upstroke should feel like you are barely dragging the tip across the surface. If upstrokes leave a thick line, you are pressing too hard.
Hold the pen at an angle. Around 45 degrees to the paper is the standard starting point. At this angle the tip flexes forward, which is the direction it is designed to bend. Straight vertical grips create sideways stress.
Cap the pen between uses. Leaving a brush pen uncapped for more than a minute or two lets the tip begin to dry. Dried tips get stiff, and stiff fibers snap more easily.
Do not press harder when ink runs low. If strokes are faint, the ink supply is likely exhausted. Pressing harder will not add more ink, but it will damage the tip. Replace or refill instead.
Troubleshooting Table
| Problem | Likely cause | Fix |
|---|---|---|
| Tip splays on downstrokes | Holding pen too vertical | Lower pen angle toward 45 degrees |
| Lines fuzzy or feathered | Paper too rough | Switch to smooth or HP paper |
| Tip frays after one session | Pressing hard on upstrokes | Practice lifting pressure going up |
| Tip dries out quickly | Not capping between strokes | Cap pen whenever pausing |
| Ink looks faint, tip damaged | Pen used past ink supply | Replace pen or refill cartridge |
| Tip will not hold a point after dampening | Fibers broken at the base | Tip is worn out; retire the pen |
Choosing the Right Pen Size to Reduce Wear
Tip size affects how quickly a pen frays. Larger tips (sometimes called big brush or jumbo brush pens) have thicker felt with more fibers, so fraying shows up more slowly. Small tips (fine brush pens) have a narrower point with fewer fibers, so damage appears faster.
If you are new to brush lettering, starting with a medium or large tip gives you a more forgiving margin for technique mistakes while your pressure control develops. Once upstroke and downstroke pressure feel natural, moving to a finer tip is much less punishing on the tool.
For a direct comparison of how pen sizes affect practice, Small vs. Large Brush Pens: Which Should You Start With? walks through the practical differences.
Frequently Asked Questions
Is a frayed brush pen tip ruined? Not always. Mild fraying with a few stray fibers can often be improved using the dampening and rolling method described above. Tips with broken fibers at the base, or tips that are fully splayed after the fix attempt, are unlikely to recover enough for clean letterforms. Think of it as normal tool wear rather than a mistake.
How long should a brush pen tip last? That depends on paper type, pressure habits, and how often you practice. On smooth paper with controlled pressure, a tip can last through many hours of practice. On rough paper with heavy strokes, the same pen might fray within a session or two. There is no fixed answer, but you will notice tips lasting longer once you switch to smoother paper.
Can I trim a frayed tip to restore it? Some people do this with small scissors, carefully snipping stray fibers flush with the tip. It can work, but the trimmed tip will be slightly shorter, which changes how it flexes. Trim conservatively, a tiny amount at a time, and test after each trim. Over-trimming shortens the tip to the point where it no longer tapers properly.
Does capping direction matter? For most brush pens it does not, but some manufacturers recommend storing tip-down to keep ink at the writing end. Check the packaging of your specific pen. When in doubt, tip-down or horizontal both work for most felt-tip brush pens.
What paper is best for protecting brush pen tips? Smooth or HP-coated paper is the standard recommendation. Rhodia pads, Clairefontaine, and various laser papers all fall into this category. The key quality is a surface that offers minimal tooth or texture. If you drag your fingernail across the paper and feel resistance, the paper will do the same to your pen tip over time.