Brush Lettering
Small vs Large Brush Pens: Which Should You Start With?
Choosing between small and large brush pens? Learn which tip size suits beginners, what each is best for, and how to build skills with either.
Most beginners face the same question in the art supply aisle: does tip size actually matter, or is it just marketing? The short answer is that tip size shapes what you can realistically do with a pen. Small and large brush pens behave quite differently, and starting with the wrong one can make learning harder than it needs to be.
This guide explains how each size works, what each is genuinely good for, and which one gives most beginners the clearest path forward.
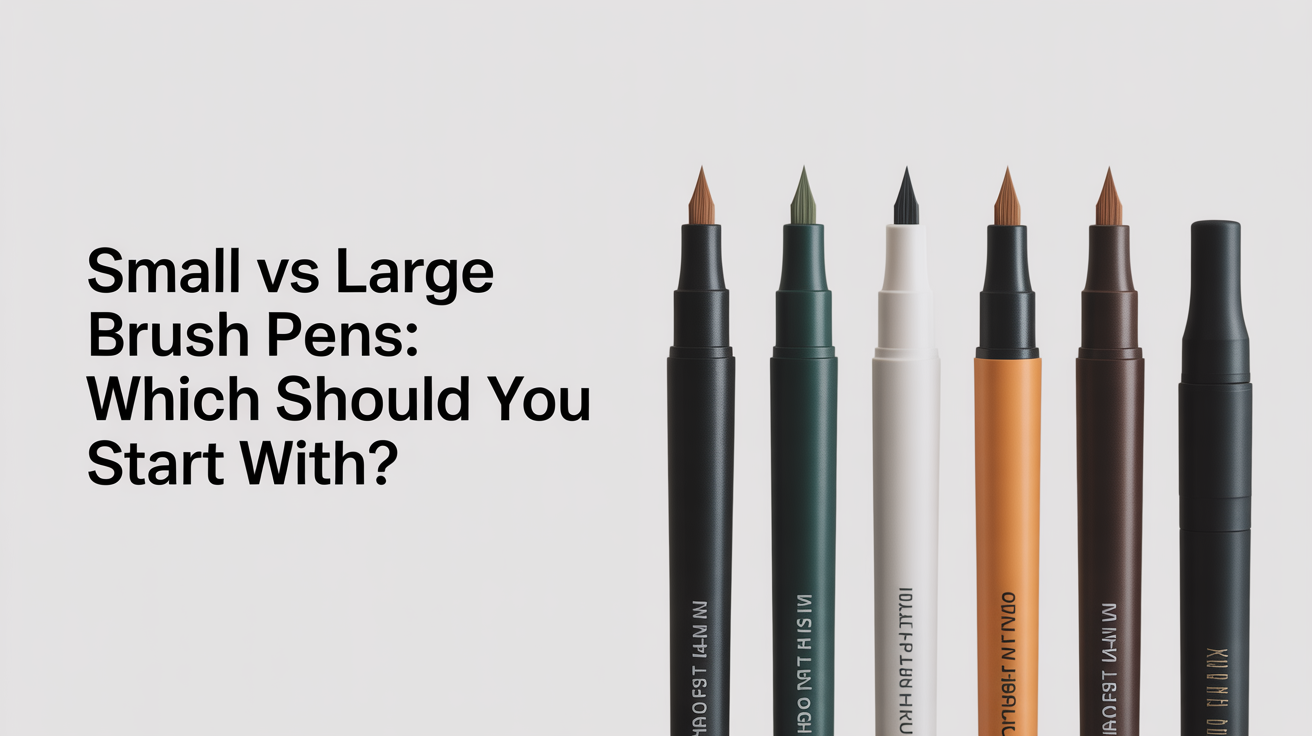
What "Small" and "Large" Actually Mean
Brush pens come with a flexible tip, meaning the bristles or nylon fibers compress under pressure and spring back when you lift. That pressure-and-release motion is what creates the thick-downstroke, thin-upstroke rhythm at the core of brush lettering.
Tip size refers to the physical length and width of that flexible tip:
- Small-tip brush pens have a short, fine tip, usually 5–10 mm long. The bristles are close together, so the pen behaves a bit like a pointed felt tip with some flex built in.
- Large-tip brush pens have a longer, fuller tip, often 15–25 mm, with more bristle volume. They load more ink and produce bolder, more dramatic strokes.
Neither is inherently better. They are optimized for different letter scales and different stages of practice.
How Tip Size Changes the Feel
The clearest way to understand the difference is to think about control. A small tip gives you a shorter range of motion between thin and thick, you nudge the bristles apart rather than pressing them all the way to the ferrule (the metal crimp that holds them). A large tip has a much wider pressure range: a light touch yields a fine hairline, and full pressure spreads the bristles into a broad, painterly stroke.
That sounds like more versatility, but for a true beginner it can mean less predictability. With a large-tip pen, even small variations in hand pressure show up dramatically in the stroke. A hand that is still learning to stay consistent will produce wobbly, uneven lines, not because the lettering is "wrong," but because the pen amplifies every hesitation.
Small-tip pens are more forgiving. The strokes are narrower overall, so slight pressure variations are less obvious. The letters are smaller, which also means your hand travels a shorter distance per stroke, making it easier to keep control.
The Role of Paper Size
Tip size and paper size go together. Large brush pens want room to breathe, think A5 or A4 sheets with generous letter heights (2.5 cm or more per letter). Small brush pens are at home in a standard notebook or on greeting card panels where the lettering might be just 1–1.5 cm tall.
If you try to write small with a large-tip pen, the thick downstrokes crowd together and the letters become illegible. If you try to write large with a small-tip pen, the strokes look thin and lack visual weight.
What Each Size Is Best For
| Small-tip brush pen | Large-tip brush pen | |
|---|---|---|
| Letter height | 1–2 cm | 2.5 cm and up |
| Best for | Cards, journaling, fine details | Posters, banners, bold headers |
| Learning curve | Moderate | Steeper |
| Common mistake | Pressing too hard | Inconsistent pressure |
| Paper feel | Smooth or slightly textured | Smooth recommended |
Small-tip pens handle everyday writing scales gracefully. They are well suited to addressing envelopes, writing inside greeting cards, adding lettering to bullet journals, and any situation where the text needs to fit into a compact space.
Large-tip pens produce work that reads from across the room. They are the right choice for welcome signs, wall art, celebration banners, and any project where bold visual impact is the goal. The strokes are expressive and can carry a lot of personality, but they demand a practiced hand to look intentional rather than sloppy.
Which Size to Start With
For most beginners, a small or medium-small brush pen is the better first tool. Here is the reasoning:
- Control builds faster. The narrower pressure range means you are learning the core up-thin, down-thick motion without fighting an overly sensitive tip.
- The basic strokes are easier to isolate. Practicing the basic strokes of brush lettering on a small pen lets you see the shape of each stroke more clearly before scaling up.
- Mistakes are smaller. A shaky upstroke on a small-tip pen is a thin line that wavers a little. The same unsteadiness on a large-tip pen produces a wide, jagged mark that dominates the whole letter.
- Supply cost is lower. Small-tip pens tend to cost a bit less, so if you burn through a few tips while learning proper technique, the investment is modest.
The exception: if your goal from day one is large-scale poster lettering, start with a large-tip pen. Practicing at a small scale with a small tip and then switching to large-scale work with a large tip requires some adjustment. Better to learn at the scale you actually want to work in.
A Practical First Month
If you are starting fresh, here is a simple progression:
- Pick ONE small-to-medium brush pen. Look for a nylon tip (firmer and more predictable than natural-fiber bristle tips) and a water-based ink that can be re-wetted if the tip dries.
- Spend the first two weeks only on basic strokes: overturn curves, underturn curves, and compound curves on smooth paper. No letters yet.
- In week three, begin lowercase letters, starting with those that are mostly basic strokes:
i,u,n,m,a. - In week four, add a large-tip pen for one 15-minute session per day. Now that your muscle memory for pressure is developing, the larger tip will feel much more manageable.
Shaky strokes in week one are completely normal. The tip of a brush pen responds to every tremor in your hand, and your hand is not yet trained to move slowly and deliberately at lettering scale. That steadiness comes with repetition, usually within four to six weeks of consistent daily practice.
Moving Between Sizes
Once you have solid control of one tip size, moving to the other is mostly a matter of recalibrating the pressure you apply and the speed at which you move.
Large-tip pen after learning on small: slow down, use less pressure on upstrokes than you think you need, and letter bigger than feels natural.
Small-tip pen after working large: speed up slightly, and be careful not to press so hard that you splay the fine tip. A splayed tip loses its point and starts producing inconsistent line widths.
Color blending is one area where large-tip pens shine in ways small-tip pens cannot fully replicate. The greater bristle volume holds more ink, which means you can blend two wet colors together directly on the tip for a smooth gradient, a technique sometimes called ombre lettering. If that kind of work interests you, see how to blend colors with brush pens for a step-by-step approach.
Paper and Ink Considerations
Tip size interacts with your paper choice more than most beginners expect.
Rough or textured paper frays the bristles of any brush pen over time, but it damages fine-tipped pens faster because the tip is more delicate. If you are using a small brush pen, stick to smooth, coated, or semi-gloss paper. Standard copy paper is usually too rough and will wear out a fine tip within a few practice sessions.
Large-tip pens are slightly more tolerant of paper texture because the bristles are thicker, but smooth paper still gives the cleanest results and the sharpest contrast between thick and thin strokes.
For ink, water-based formulas are beginner-friendly because they are easier to clean up and less likely to permanently ruin a tip if you accidentally let the pen dry uncapped. Pigment-based inks produce more vivid, light-fast color but can clog bristles if the pen sits uncapped for even a few minutes.
Frequently Asked Questions
Can I learn brush lettering with just one pen?
Yes. Many calligraphers learn their foundational skills entirely on one small or medium brush pen before adding other tools. Having one pen reduces variables and lets you focus on technique rather than comparing results between different tools.
Why does my brush pen leave a faint, scratchy line instead of a smooth stroke?
The most common causes are a dry or fraying tip, paper that is too rough, or upstroke pressure that is too heavy. On upstrokes, the bristles should barely graze the paper, far lighter than you probably think. Try reducing upstroke pressure first before replacing the pen.
Are large brush pens harder for small hands?
Grip size matters more than hand size. Most brush pens have a standard grip diameter. If the pen feels unwieldy, try holding it at a slightly lower point on the barrel, and make sure you are angling it at roughly 45 degrees rather than holding it upright.
How do I know when a brush pen tip is worn out?
The tip no longer comes to a point after a light upstroke. Instead, the bristles separate or splay even under minimal pressure. A worn tip produces inconsistent thick-thin contrast and can start depositing fibres on the paper. When you see those signs consistently, it is time for a new pen.
Should I buy a set with both sizes or start with individual pens?
Individual pens are usually the better first purchase. Sets can feel like good value, but they often include tip sizes and colors you will not use for months. A single small-to-medium brush pen bought individually lets you test the tip type and ink formula before committing to a larger investment.