Pointed Pen
Pointed Pen Calligraphy Drills for Beginners
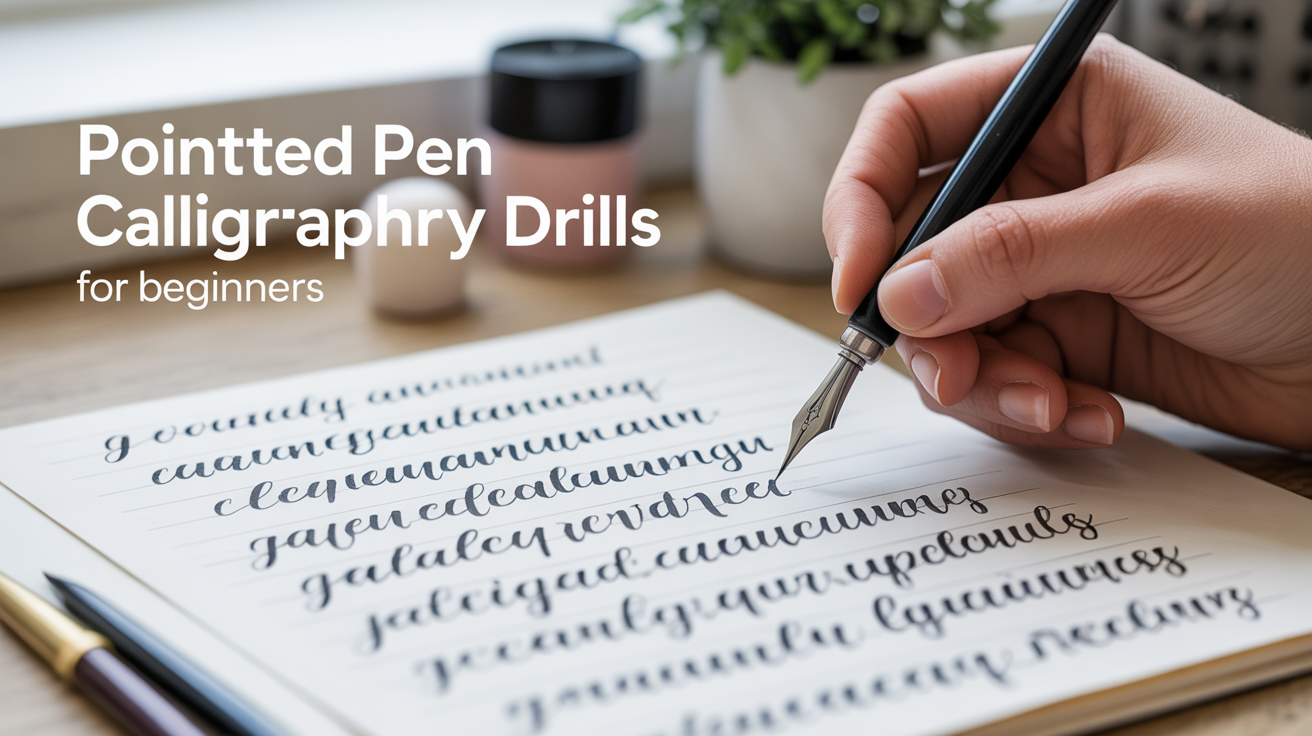
Learn pointed pen calligraphy drills step by step. Practice straight downstrokes, overturns, underturns, ovals, and loops to build consistent letterforms.
Pointed pen drills are short, repetitive stroke exercises you practice before, or instead of, writing letters. They train your hand to move consistently so that when you do write letters, the shapes come from muscle memory rather than guesswork. Most beginners skip drills and go straight to the alphabet. That usually means shaky lines, uneven spacing, and frustration. Spending even ten minutes on drills each session speeds up progress considerably.
This guide walks through the seven core strokes in order from simplest to most complex, explains the vocabulary you will encounter, and answers the questions beginners most often ask.
Key Terms Before You Begin
A few words appear constantly in calligraphy instruction and are worth knowing upfront.
Nib is the metal tip that holds and releases ink. It fits into a nib holder the way a pen cartridge fits into a ballpoint. Learn to assemble a dip pen and insert a nib before your first drill session.
Tines are the two metal prongs at the tip of the nib. They separate slightly when you press down on a downstroke and spring back together on an upstroke.
Flex describes how much the tines spread. A flexible nib creates more contrast between thick and thin strokes.
Downstroke is any stroke moving toward the bottom of the page. You apply gentle pressure on downstrokes, spreading the tines to create a thick line.
Upstroke is any stroke moving toward the top of the page. You lift pressure on upstrokes, letting the tines close to produce a thin hairline.
X-height is the height of a lowercase letter body, not counting ascenders (the tall parts of b, d, h) or descenders (the tails of g, j, p, q, y). Most drill guidelines are based on x-height.
Overturn is a stroke shaped like an arch, moving up then over and down.
Underturn is a stroke shaped like a bowl, moving down and then curving up at the bottom.
Understanding thick downstrokes and thin upstrokes is the core mechanic behind pointed pen work. If that concept is new to you, read thin upstrokes and thick downstrokes explained before continuing.
How to Set Up for Drills
You need your nib properly inked before starting. Dip the nib so ink covers the hole in the center of the nib (called the breather hole) but does not run up the barrel of the holder. Wipe off any excess on the lip of the ink bottle. If you are unsure how much ink to load, see how to load ink onto a calligraphy nib.
Use practice paper with printed guidelines or draw your own with a ruler. A basic setup is four horizontal lines: a baseline, a waist line one x-height above it, and ascender and descender lines above and below those. Grid paper works if you do not want to rule lines by hand.
Hold the nib holder at roughly 45 degrees to the paper surface. The nib slit should point upward rather than sideways so both tines touch the paper evenly. Rotate the holder slightly until you feel both tines make contact.
The Seven Drills in Sequence
Work through these in order during your first several sessions. Once each feels stable, you can rotate through all seven or focus on whichever strokes appear weakest in your letters.
1. Straight Downstrokes
Place the nib at the waist line. Apply light, even pressure and pull the stroke straight down to the baseline. Lift pressure completely before lifting the nib.
The goal is a perfectly vertical, evenly thick line. Beginners often see slight wobbles, tapered ends, or strokes that angle left or right. All of these are normal at the start. Focus on keeping your shoulder and elbow loose; a locked elbow causes the stroke to arc.
Practice ten to fifteen downstrokes in a row, leaving a small gap between each.
2. Upstrokes
Start at the baseline with no pressure and push the nib upward to the waist line. The result should be a fine hairline.
Upstrokes feel less natural because you are pushing the nib rather than pulling it. Move slowly and do not press down at all. If the nib catches or scratches, the angle is too steep or the paper is too rough.
Alternate a downstroke and an upstroke in pairs: down, up, down, up. This is sometimes called a ladder drill.
3. Overturns
An overturn begins with a thin upstroke that curves over the waist line and comes back down as a thick downstroke, ending at the baseline. The shape resembles the letter n.
Start with light pressure, keep it light through the arc at the top, then gradually increase pressure as the stroke descends. The transition from thin to thick should be gradual rather than sudden.
Repeat in a chain: each overturn should connect smoothly to the beginning of the next.
4. Underturns
An underturn is the reverse: begin with a thick downstroke, then curve at the bottom and exit with a thin upstroke. The shape resembles the letter u.
As the stroke curves at the bottom, release pressure slowly. You want the thick-to-thin transition to happen through the curve, not at the very bottom. Abrupt pressure release leaves a blot at the base of the curve.
Chain underturns together the same way you did overturns.
5. Compound Curves
A compound curve combines one overturn and one underturn into a single connected stroke. It moves up thin, over the top, down thick, curves at the bottom, and exits thin. The shape resembles the letters m or w depending on how you link them.
This drill is where pressure control becomes most demanding. You are changing from no pressure to full pressure and back to no pressure within one stroke. Practice the transitions separately before chaining compound curves.
6. Ovals
Ovals are the basis of letters like a, d, g, q, and o. Start just below the waist line at the one o'clock position, move the nib counter-clockwise and upward to close the oval, then travel down the left side of the oval with pressure to thicken it.
The challenge is keeping the oval round rather than pointed at the top and bottom. Slow down through the top and bottom of the shape. The widest part of the oval (where the stroke is thickest) should fall on the left side, at roughly the nine o'clock position.
7. Ascending and Descending Loops
Ascending loops extend upward from the waist line into the ascender zone and curve back down to connect with the baseline. Descending loops mirror this below the baseline. They appear in letters like l, h, b (ascending) and g, y, j (descending).
For an ascending loop: start at the baseline, push a thin upstroke into the ascender zone, loop the stroke back and come down with pressure. The loop at the top should be narrow, not wide.
For a descending loop: start at the baseline, push down with pressure, curve below the baseline into the descender zone, loop back, and exit with a thin upstroke back to the baseline.
Drill Cheat-Sheet
| Drill | Direction | Pressure | Letters it builds |
|---|---|---|---|
| Downstroke | Down | Constant medium | All letters |
| Upstroke | Up | None | All letters |
| Overturn | Up then down | None then medium | n, m, h, u |
| Underturn | Down then up | Medium then none | u, a, i, j |
| Compound curve | Up-down-up | None-medium-none | m, n, x, w |
| Oval | Counter-clockwise | Medium on left arc | a, d, g, o, q |
| Loops | Up or down, looping | None on entry, medium on down | b, d, h, l, g, j, y |
How to Structure a Practice Session
A productive drill session does not need to be long. Ten to fifteen minutes of focused drill work is more useful than an hour of distracted lettering.
A simple structure: spend the first five minutes on downstrokes and upstrokes to warm up the hand, then move through overturns, underturns, and compound curves, then end with ovals and loops. Stop when the nib runs dry or the ink starts to skip, re-dip, and continue.
Write in rows rather than scattering strokes across the page. Rows let you look across a line and see whether your strokes are consistent in height, angle, and spacing.
Shaky lines during the first several sessions are completely normal. The hand is learning a new kind of small motor control, and that takes time. Consistency develops gradually, usually over weeks rather than days.
Frequently Asked Questions
How often should I practice drills? Short daily sessions produce faster improvement than one long session per week. Even five minutes of downstrokes and upstrokes each morning builds the hand more reliably than a two-hour weekend session.
My downstrokes are wobbling. What is wrong? Wobble usually comes from gripping the pen too tightly or locking the elbow. Try loosening your grip until the pen feels almost too light to hold, and let your shoulder do more of the movement. Practicing on smoother paper can also help, since rough paper catches the nib and causes the tine to skip.
When can I start practicing letters instead of drills? There is no firm rule. Many calligraphers do drills every session alongside letters. Once your overturns and underturns look reasonably consistent, you have enough control to start the basic alphabet. Drills help more as you identify specific letters that give you trouble.
Do I need special drill sheets? Printed drill guides help but are not required. Lined notebook paper works fine for downstrokes, upstrokes, and ovals. For compound curves and loops, any paper with consistent horizontal lines is enough. The key is having a baseline and a waist line you can reference.
Why does my upstroke keep scratching the paper? The most common causes are too much pressure on the upstroke, a nib angle that is too shallow (nearly parallel to the paper), or paper with too much texture. Check that you are applying zero pressure on upstrokes and that both tines are touching the paper before you begin the stroke. Smooth paper such as HP Premium 32-lb or Rhodia pads reduces catching significantly.